
 hazukieq
9abe43aefc
add issue_template
hazukieq
9abe43aefc
add issue_template
|
vor 2 Jahren | |
|---|---|---|
| img | vor 2 Jahren | |
| license-gen | vor 2 Jahren | |
| src | vor 2 Jahren | |
| .gitignore | vor 2 Jahren | |
| Cargo.lock | vor 2 Jahren | |
| Cargo.toml | vor 2 Jahren | |
| LICENSE | vor 2 Jahren | |
| NodeInject_README.md | vor 2 Jahren | |
| README.md | vor 2 Jahren | |
| issue_template.md | vor 2 Jahren |
README.md
TYpora最新版激发教程
Yporainject(Copy from repo NodeInject)
作者:叶月绘梨依
日期:2023年6月10日
已通过测试平台(来自原项目Node_inject)
- Windows
- Ubuntu
[ ] MacOs
Since macos may adopt different packaging methods and webkit as the execution environment, this tool does not support applications under macos.
本仓库使用到的开源项目
怎么提问 ISSUE
请您提问之前,请自行确认:
- 尝试通过网络解决遇到的问题,你确信网络不能解决你的问题
- 确定已有的 issue 不能解决你的问题
- 确定 issue 按照如下格式: [问题]: 问题描述 ** 请您按照提问模板填写(位于仓库文件 issue_template.md 中),谢谢您的配合,祝您生活愉快!**
1. 下载最新版Typora安装包
在终端下输入以下命令直接下载(我电脑是X86架构的,请根据自己电脑自行选择)
#查看电脑架构
uname -m

#下载TYPORA安装包
#X86(amd)
wget https://download2.typoraio.cn/linux/typora_1.6.6_amd64.deb --output-document typora.deb

#ARM
wget https://download2.typoraio.cn/linux/typora_1.6.6_arm64.deb --output-document typora.deb

#安装TYPORA
sudo dpkg -i typora.deb
2. 克隆Yporaject项目
git clone https://github.com/hazukieq/Yporaject.git
3.配置 rust 编译环境
由于编译项目需要 rust 的支持,所以我们需要配置相关环境(若已有,则可跳过该步骤)
#运行官方脚本安装即可
curl --proto '=https' --tlsv1.2 -sSf https://sh.rustup.rs | sh

#检查cargo,若看到如下版本信息,则说明配置成功
cargo -v
cargo 1.70.0 (ec8a8a0ca 2023-04-25)
注:若安装过程中出现其他问题,请自行网上搜索相关安装教程,关键字 ubuntu cargo rust install
4. 编译Yopraject项目
#进入Yoprainject项目
cd Yporainject
#运行编译命令
cargo build
#查看二进制是否生成,程序名称为 node_inject
ls target/debug
#尝试运行该二进制程序
cargo run
output:
no node_modules.asar found
move me to the root of your typora installation(the same directory as executable of electron)
请务必确认当前项目目录 target/debug 下 是否生成了 node_inject 二进制程序
5. 复制二进制程序到安装目录下
#记录当前目录路径,待会返回需要用到
cur=`pwd`

#复制二进制程序到相关目录下
sudo cp target/debug/node_inject /usr/share/typora
#进入相关目录
cd /usr/share/typora
#给予二进制程序执行权限
sudo chmod +x node_inject

#运行二进制程序
#(请注意程序运行输出信息,观察是否运行成功!!)
#若无读写权限,建议使用 sudo ./node_inject
./node_inject
6. 获取许可证激发码
#返回项目
cd $cur
#进入 license-gen 文件夹
cd license-gen
#编译代码
cargo build
#运行二进制程序
cargo run
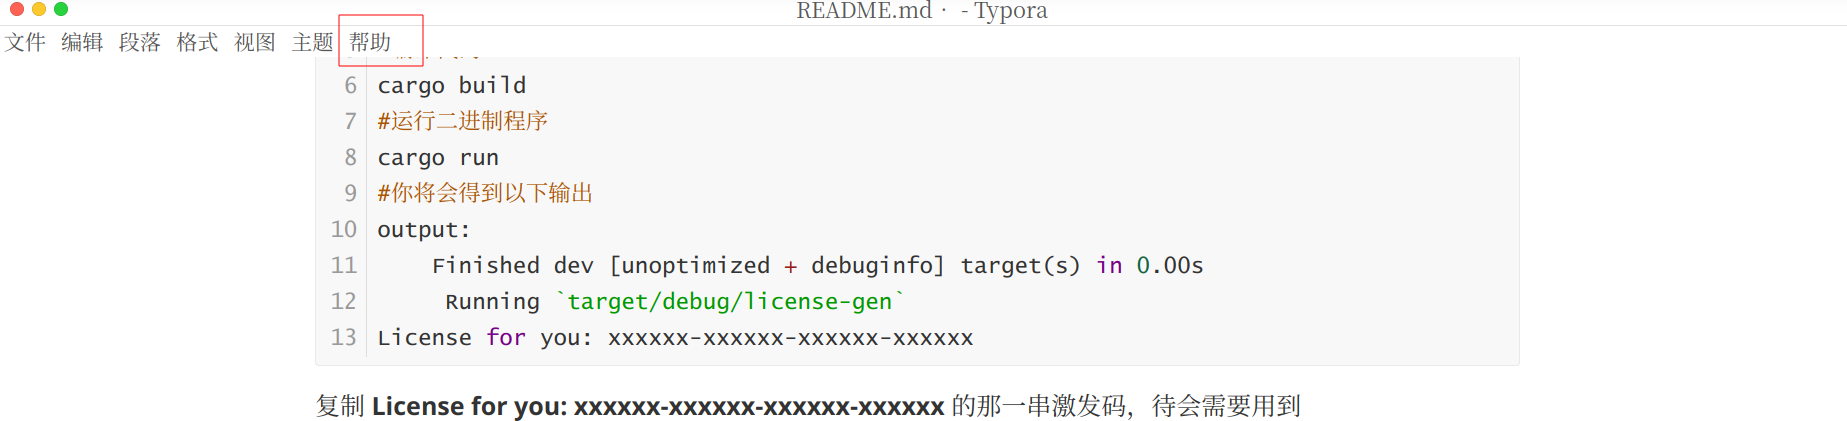
#你将会得到以下输出
output:
Finished dev [unoptimized + debuginfo] target(s) in 0.00s
Running `target/debug/license-gen`
License for you: xxxxxx-xxxxxx-xxxxxx-xxxxxx
复制 License for you: xxxxxx-xxxxxx-xxxxxx-xxxxxx 的那一串激发码,待会需要用到
7. 激活软件
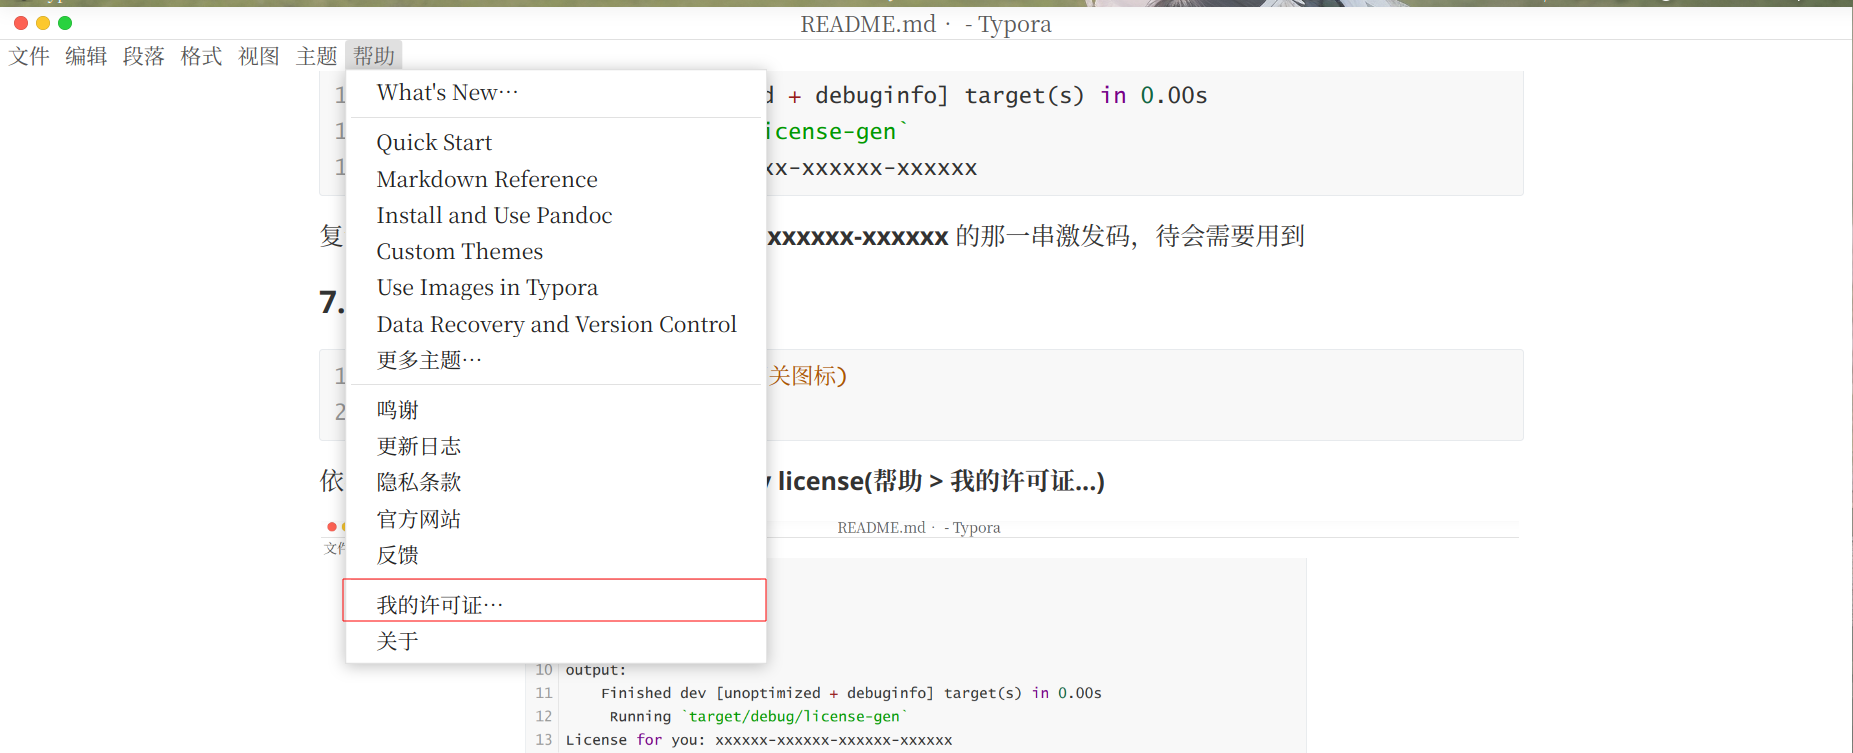
#运行TYPORA(你也可以在桌面上点击相关图标)
typora &
依次点击界面上方菜单栏选项 help > my license(帮助 > 我的许可证...)
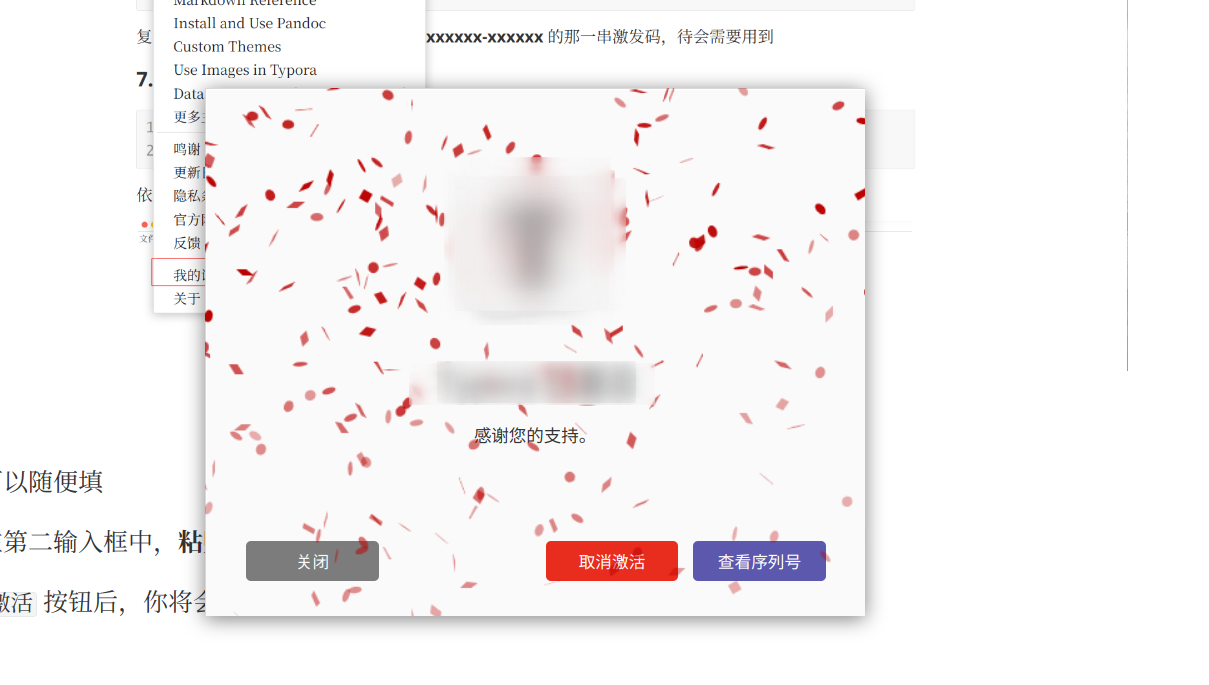
邮箱可以随便填
然后在第二输入框中,粘贴刚才得到的激发码
点击 激活 按钮后,你将会看到以下界面
结语
经过几番查找,好多教程都不怎么符合我的需求,且在 CSDN 等平台上各种转载、胡乱复制的帖子...看得真是心累。不知是不是由于我用的软件比较新的缘故, 比如 **poraCracker 就没有用。后面看到了NodeInject这个项目,我抱着尝试的态度按照项目指南操作,没想到竟然真的激活成功了。为了以后自己能想起这个方法,特此记录。